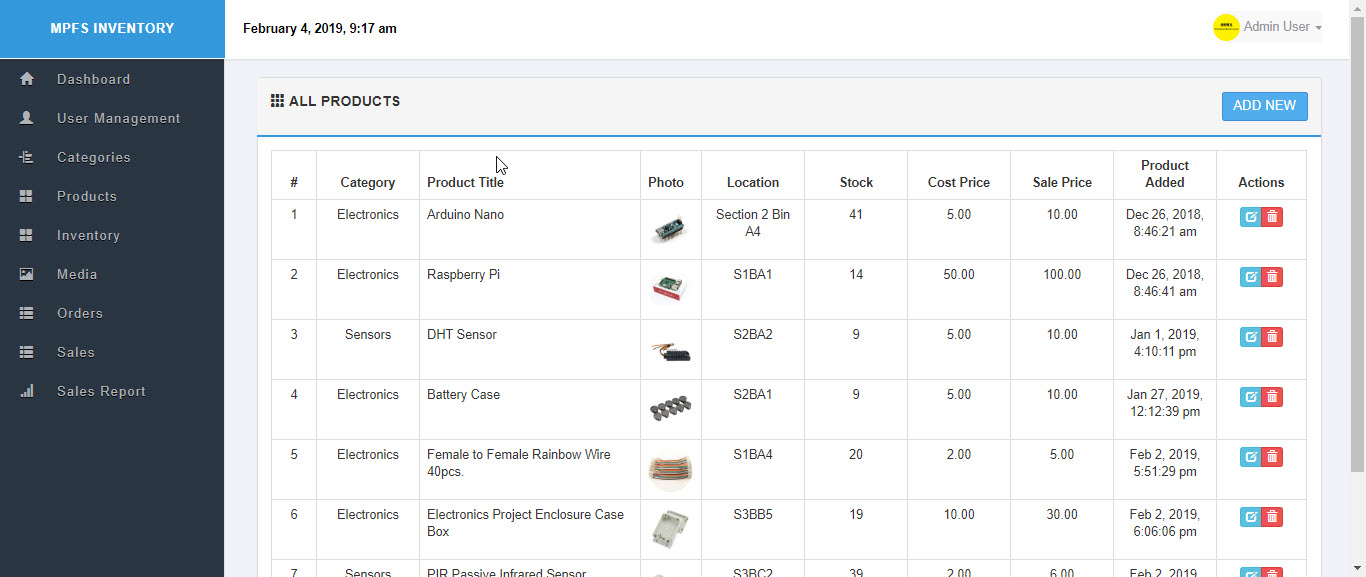
Your inventory management system stores all its data in a MySQL database (a structured store of tables and records). A backup is a snapshot of that database exported to a file you can save, copy elsewhere, or use to restore if something goes wrong. This guide covers how to export that snapshot and how to restore from it.
There are two parts of the system that need regular backups:
The system stores images that are uploaded in a directory within the source-code. Back up this directory or the entire application to a folder on your file system. The following command copies the entire application directory to your Downloads folder:
sudo cp -R /var/www/html/warehouse-inventory-system /home/pi/Downloads/Backup and Restore Your Database
Export A Database
To export a database, open a terminal (make sure you are not currently inside a MySQL session) and run the following command. mysqldump is a command-line tool that exports your database to a plain-text SQL file you can back up or restore from:
mysqldump -u [username] -p [database name] > [database name].sqlBackup your Inventory Management System
For the Community Conduit inventory database specifically, substitute the real credentials and destination path:
mysqldump -u'root' -p'password' oswa_inv > /path/to/oswa_inv.sqlThe database selected in the command will now be exported to a file.
Import
This command opens the MySQL command-line interface so you can run the restore commands:
mysql -u'username' -p'password'If you are having difficulty logging into mysql please see the section below, How to Reset Your Password
⚠ WARNING: The restore process permanently deletes all existing data before importing the backup. This cannot be undone. Confirm you have a working backup file before proceeding, and confirm you are restoring to the correct database.
Drop the existing database and recreate it as a clean target for the import:
DROP DATABASE oswa_inv;

CREATE DATABASE oswa_inv;
Load the backup file into the freshly created database:
source /path/to/oswa_inv.sqlExit mysql.
How to Reset Your Password
When you first install MySQL, you have to set up your root password. However, should you forget it at any point, you can still recover it.
Step One—Shut Down MySQL
In terminal, stop the MySQL process:
/etc/init.d/mysql stopStep Two—Access MySQL Safe Mode
In safe mode, you will be able to make changes within the MySQL system with a root password alone, without the need for MySQL root password. Start MySQL in safe mode with grant-table checks disabled:
sudo mysqld_safe --skip-grant-tables &Once safe mode has started up, log into MySQL and when prompted, use your standard root password:
mysql -u rootStep Three—Set Up a New Password
Finally, set up the new MySQL root password by typing the command below. Replace “newpassword” with the password of your choice:
update user set password=PASSWORD(“newpassword”) where User='root';FLUSH PRIVILEGES is a MySQL command that tells the database to reload its permission tables immediately — run it after any change to user accounts. Be sure to reload everything:
FLUSH PRIVILEGES;and you now have a new root password.
More About Electronics:
- Why DIY when you could buy?
- Why Arduino when you can Pi?
- Making a Lightshow with Arduino
- Making Sound Effects with Arduino
- Working with Multiple Sensors and Arduino
- Using a Raspberry Pi and USB Camera
- Using a Raspberry Pi for your own Inventory Management System
More About hydroMazing:
- Managing Nutrient Solution Systems
- Setup hydroMazing Smart Garden System
- Using Arduino to Wirelessly Control Appliances