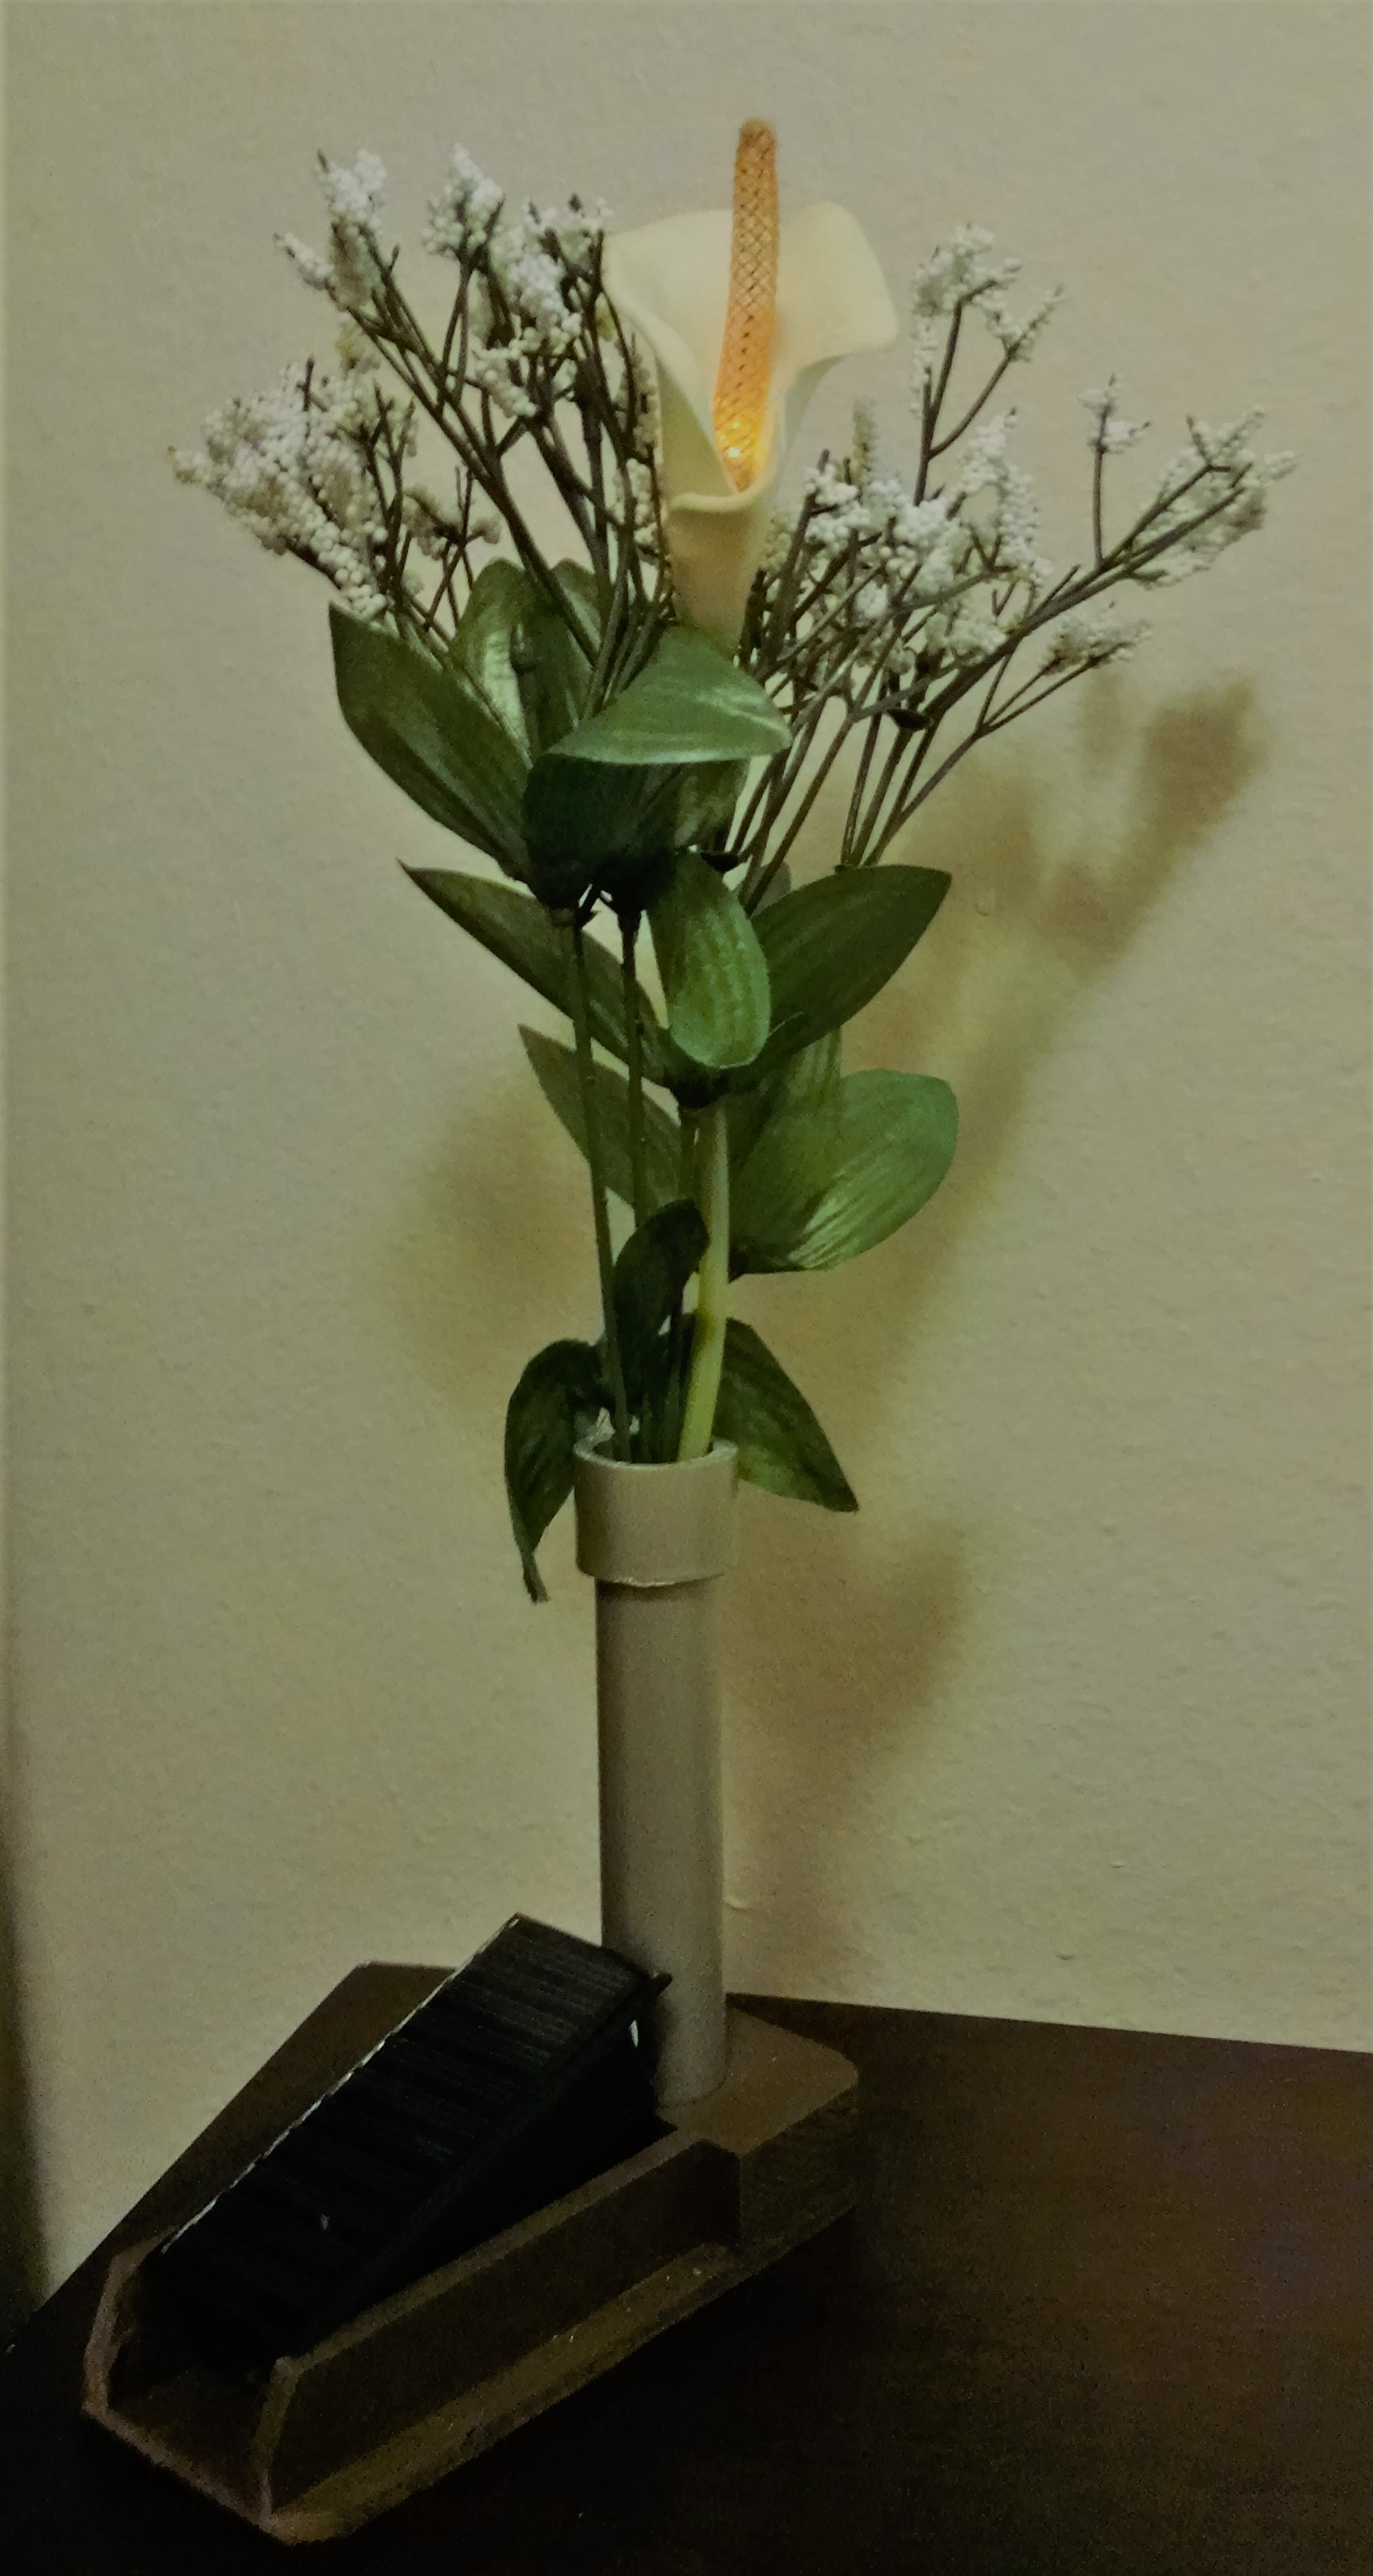
Phoenix Fire Lily: Solar rechargeable battery connected to a flickering LED inside an artificial lily flower residing in a hand-crafted wooden vase.
I don’t know about you, but I rarely have money to spend on projects and whenever possible reusing and re-purposing junk is ideal. Many of my projects contain parts I’ve purchased at local dollar stores and items found through eBay.
Parts:
- Artificial Lily Flower
- Flickering LED
- Thermostat Wire
- 100-330ohm Resistor
- Mini switch
- Solar-panel ~ 5vDC
- Rechargeable Li-ion Coin-cell Battery
- Rechargeable Li-ion Coin-cell Battery charger = TP4056 (a lithium battery charging chip commonly used in solar-powered projects) Mini USB 1A Lithium Battery Charger Module
- USB to mini USB ~ 5ft. cord
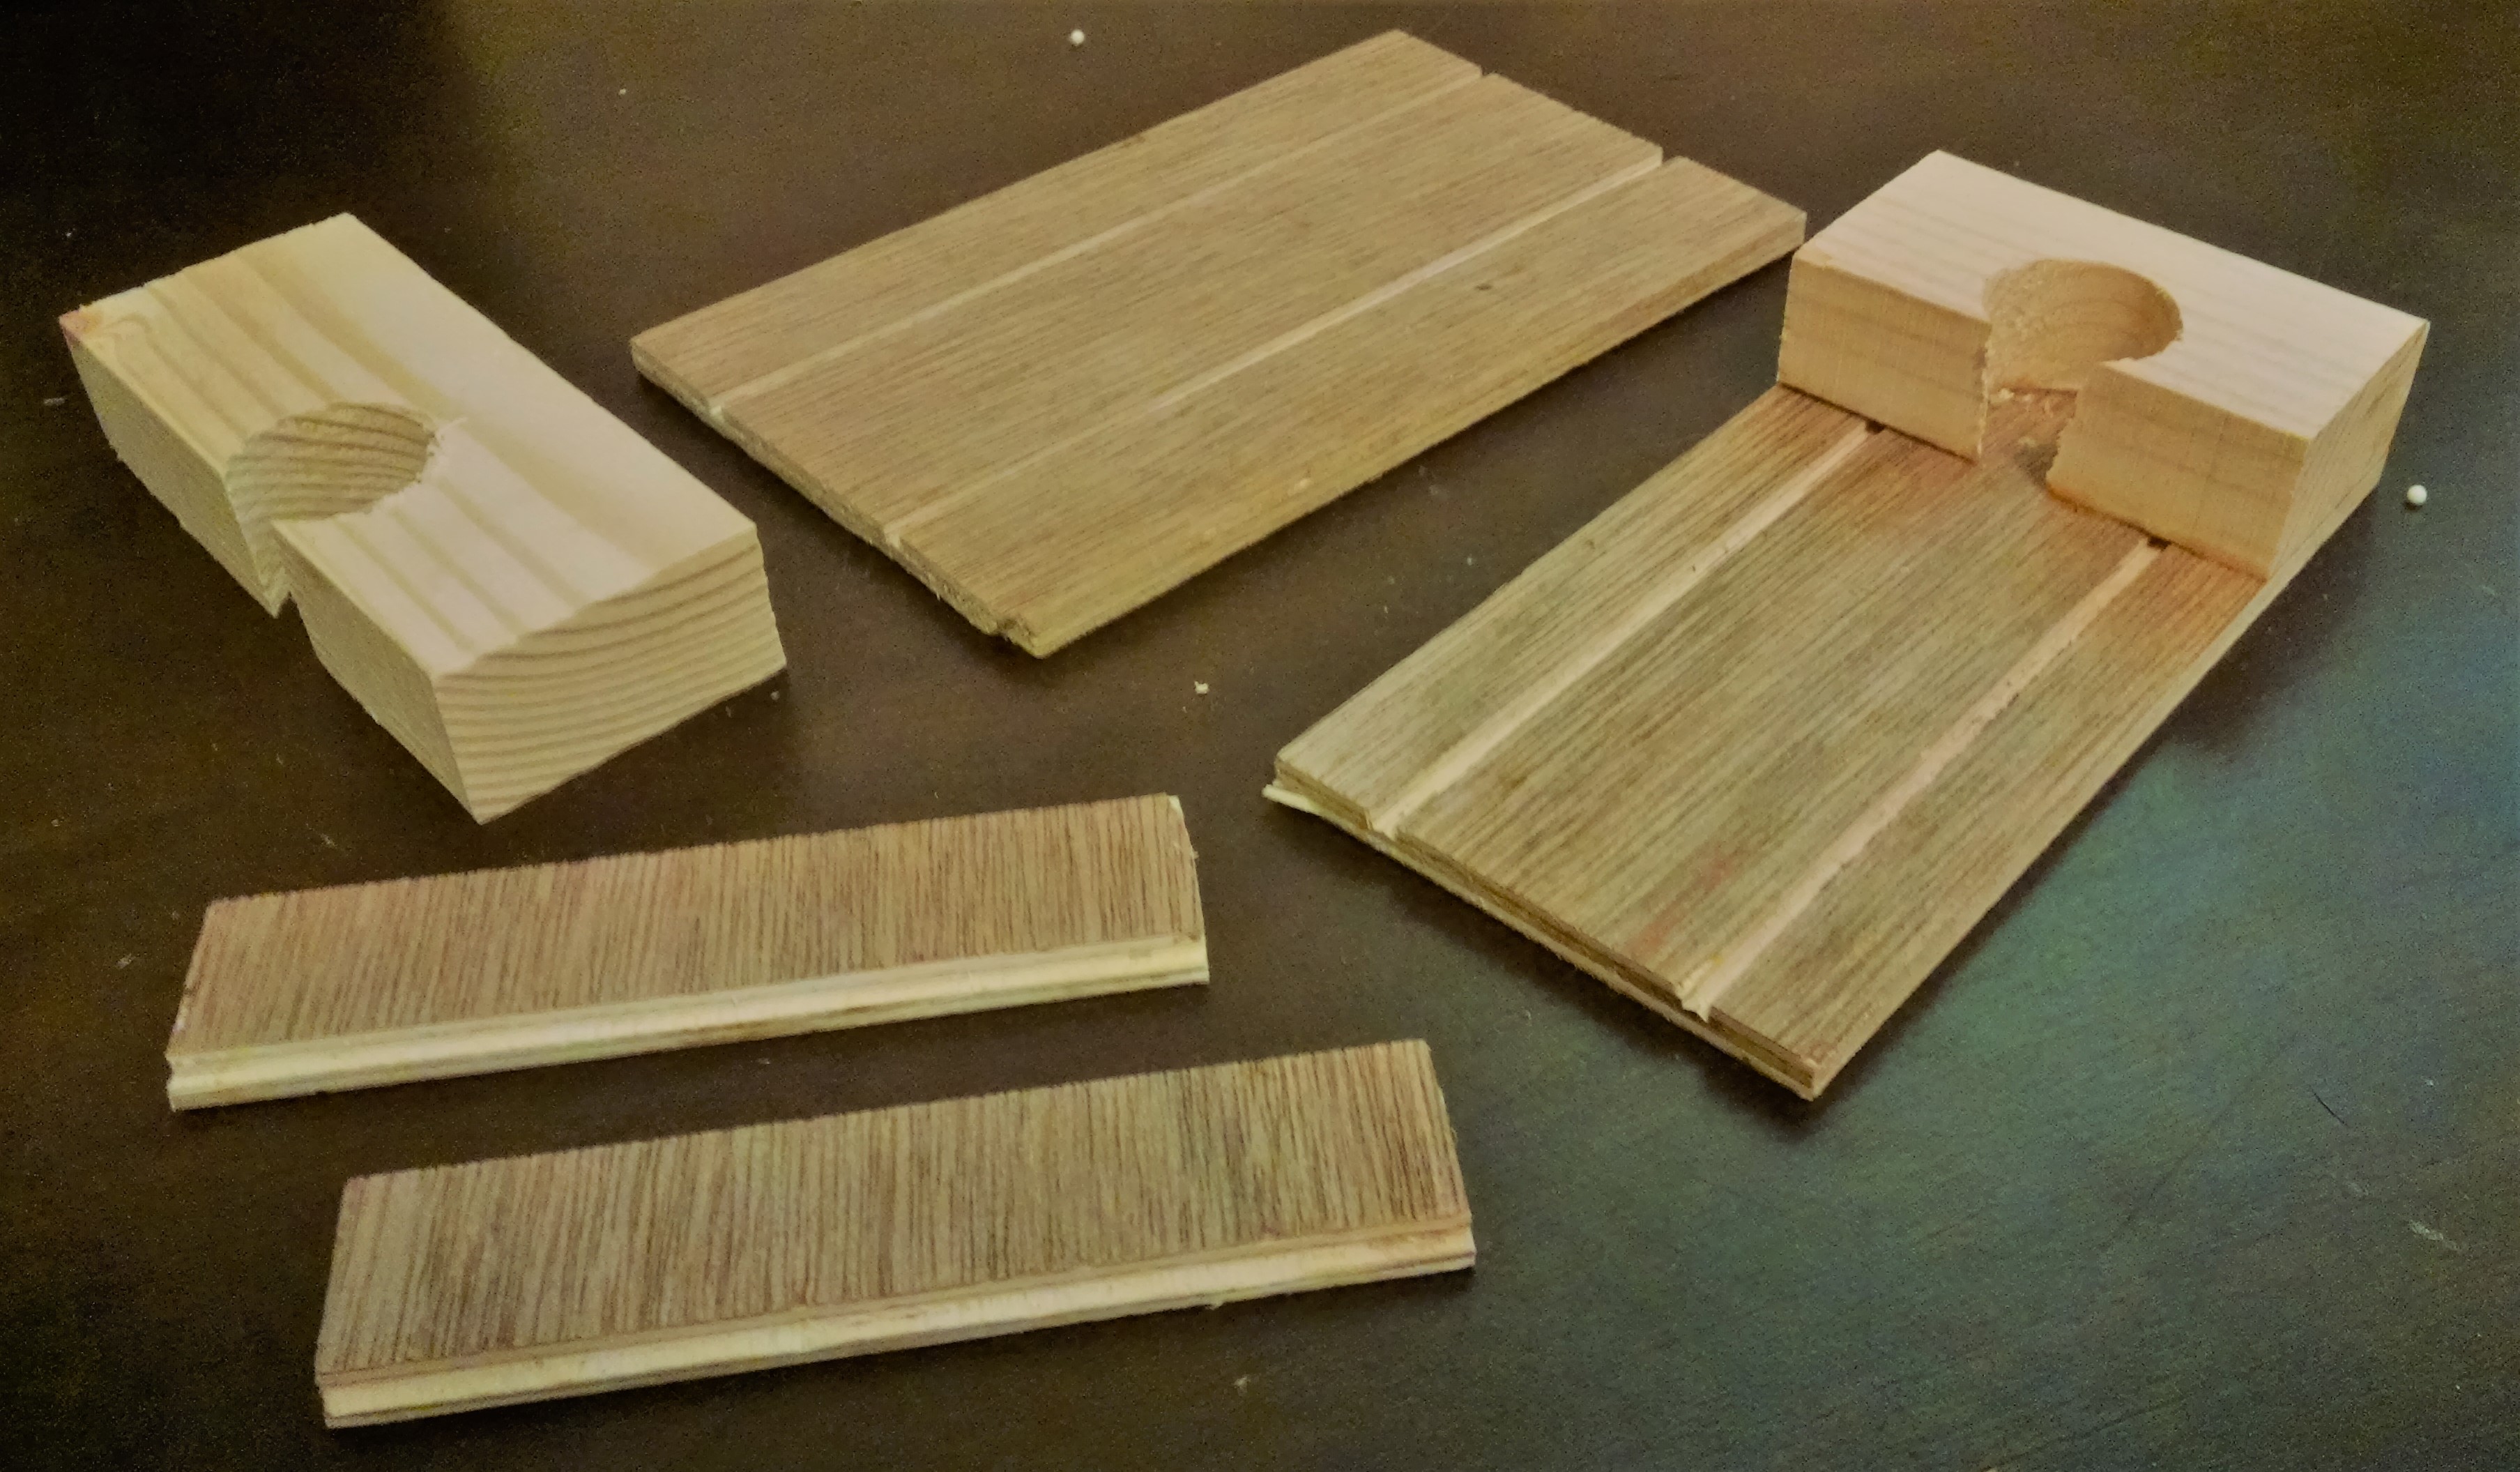
- Optional ~ hand-crafted vase station
Steps:
Cut the end of the stem and remove the wire.
Gut the Artificial Lily Flower by removing its pistil.
Using a 8-10″ length of Thermostat Wire that extends just beyond the end of the lily’s stem, solder a 100-330ohm resistor to flickering LED and/or later near the mini switch inside the recycled case.
Do I really need a resistor?
Clear LED without resistor = 30mA @ 3vDC
Flickering Yellow LED ~ 6mA @ 3vDC
salvaged 10 LED string of lights = 6mA @ 3vDC
Carefully thread the wired LED through the lily and down her stem.
Add a piece of heat-shrink tubing, solder jumper wires, and attach connector header.
Solder a set of short jumper wires to the Rechargeable Li-ion Coin-cell Battery charger output.
Solder the Rechargeable Li-ion Coin-cell Battery charger output short jumper wires, resistor, to the mini switch and recycled case ( two “AA” batteries ).
Solder the coin-cell battery holder to the Rechargeable Li-ion Coin-cell Battery charger
Insert the Rechargeable Li-ion Coin-cell Battery into the Rechargeable Li-ion Coin-cell Battery charger.
A look inside the inexpensive battery case.
Gut everything from the case!
Drill a few holes. One for the solar panel wires, and the other for USB connector.
Solder a simple switching diode, such as 1N4148 (a small signal diode that allows current to flow in only one direction, protecting components from reverse voltage), to the positive side.
Using short jumper wires, solder the Rechargeable Li-ion Coin-cell Battery charger input to the solar panel ~ 5vDC.
Insert the switch and wrap wires so they lay flat inside the case.
Test the output.
Optionally, attach USB to mini USB cord to the charger
Store inside a hand-crafted vase station.