Why Arduino?
The greatest advantage to using the Arduino family of microcontrollers for DIY electronics projects, is that they are ubiquitous. Since they are so available, they are inexpensive and you can find open-source software to get started.
If you’ve ever had the opportunity to work with an Arduino Uno microcontroller board, then you’ve probably executed the flashing LED example. Going further, you might attach a button, or switch, to trigger the LED or to turn it off making the project interactive. There are many sensors that could be connected to the Arduino Uno and setup to trigger events, such as the LED flashing, using threshold values that we would need to experiment with in order to figure out what settings work best for creating the effect we want.
While the examples that come with the Arduino software and the examples included with libraries are an excellent start to a project; the Arduino family of microcontrollers is often grossly underutilized in many projects. Sure microcontrollers are limited in how many instructions they can run; hitting the program size limit doesn’t take very long when you want to control more than a few blinking LEDs. Even with creative variable handling and custom libraries, eventually, there is a need for another microcontroller or to move to a larger one, even a Raspberry Pi.
In my Alien Invasion Slot Machine project, I tried to push the Arduino closer to its limits.
At its most basic, a microcontroller loops through a set of instructions handling each action with the focus of The Red Eye of Sauron from Lord of the Rings. There are a few interrupts (signals that tell the microcontroller to stop current work and respond to an urgent event immediately) that can be configured when an event needs the microcontroller’s full attention. Using some form of time management creates what’s called a state machine — a programming pattern where the system can be in one of a fixed set of states (like “watering,” “idle,” or “error”), and transitions between them based on inputs or timers. This lets your Arduino respond to multiple events without blocking on any single one.
There are rare instances where an RTOS (real-time operating system — designed to respond to hardware events within a guaranteed time window), AI inference, or neural networks run on microcontrollers, but those use cases are better suited to a Raspberry Pi.
After trying many different timer and time management libraries I felt they were either too much or not enough of what I was wanting in my timers. A set of timers that are easy to set, keep track of their own state, and each have their own trigger flags.
Button assumptions
Interacting with an electronics device such as a microcontroller or computer system is relatively easy and typically provided as an example for developers looking to use the device in their project. Press a button and an LED illuminates. A button or switch may seem like a simple sensor input, but it’s not.
The device’s system resources are consumed waiting and watching for a button press. When we use a button in a project we typically think of it being activated when pressed. Then what? What should happen if the user holds the button in the active position? Will the button be counted as pressed once, or is the program going to count each second, or x amount of time, as another button press? Does the program need to know that the button has been released?
Hardware and wiring
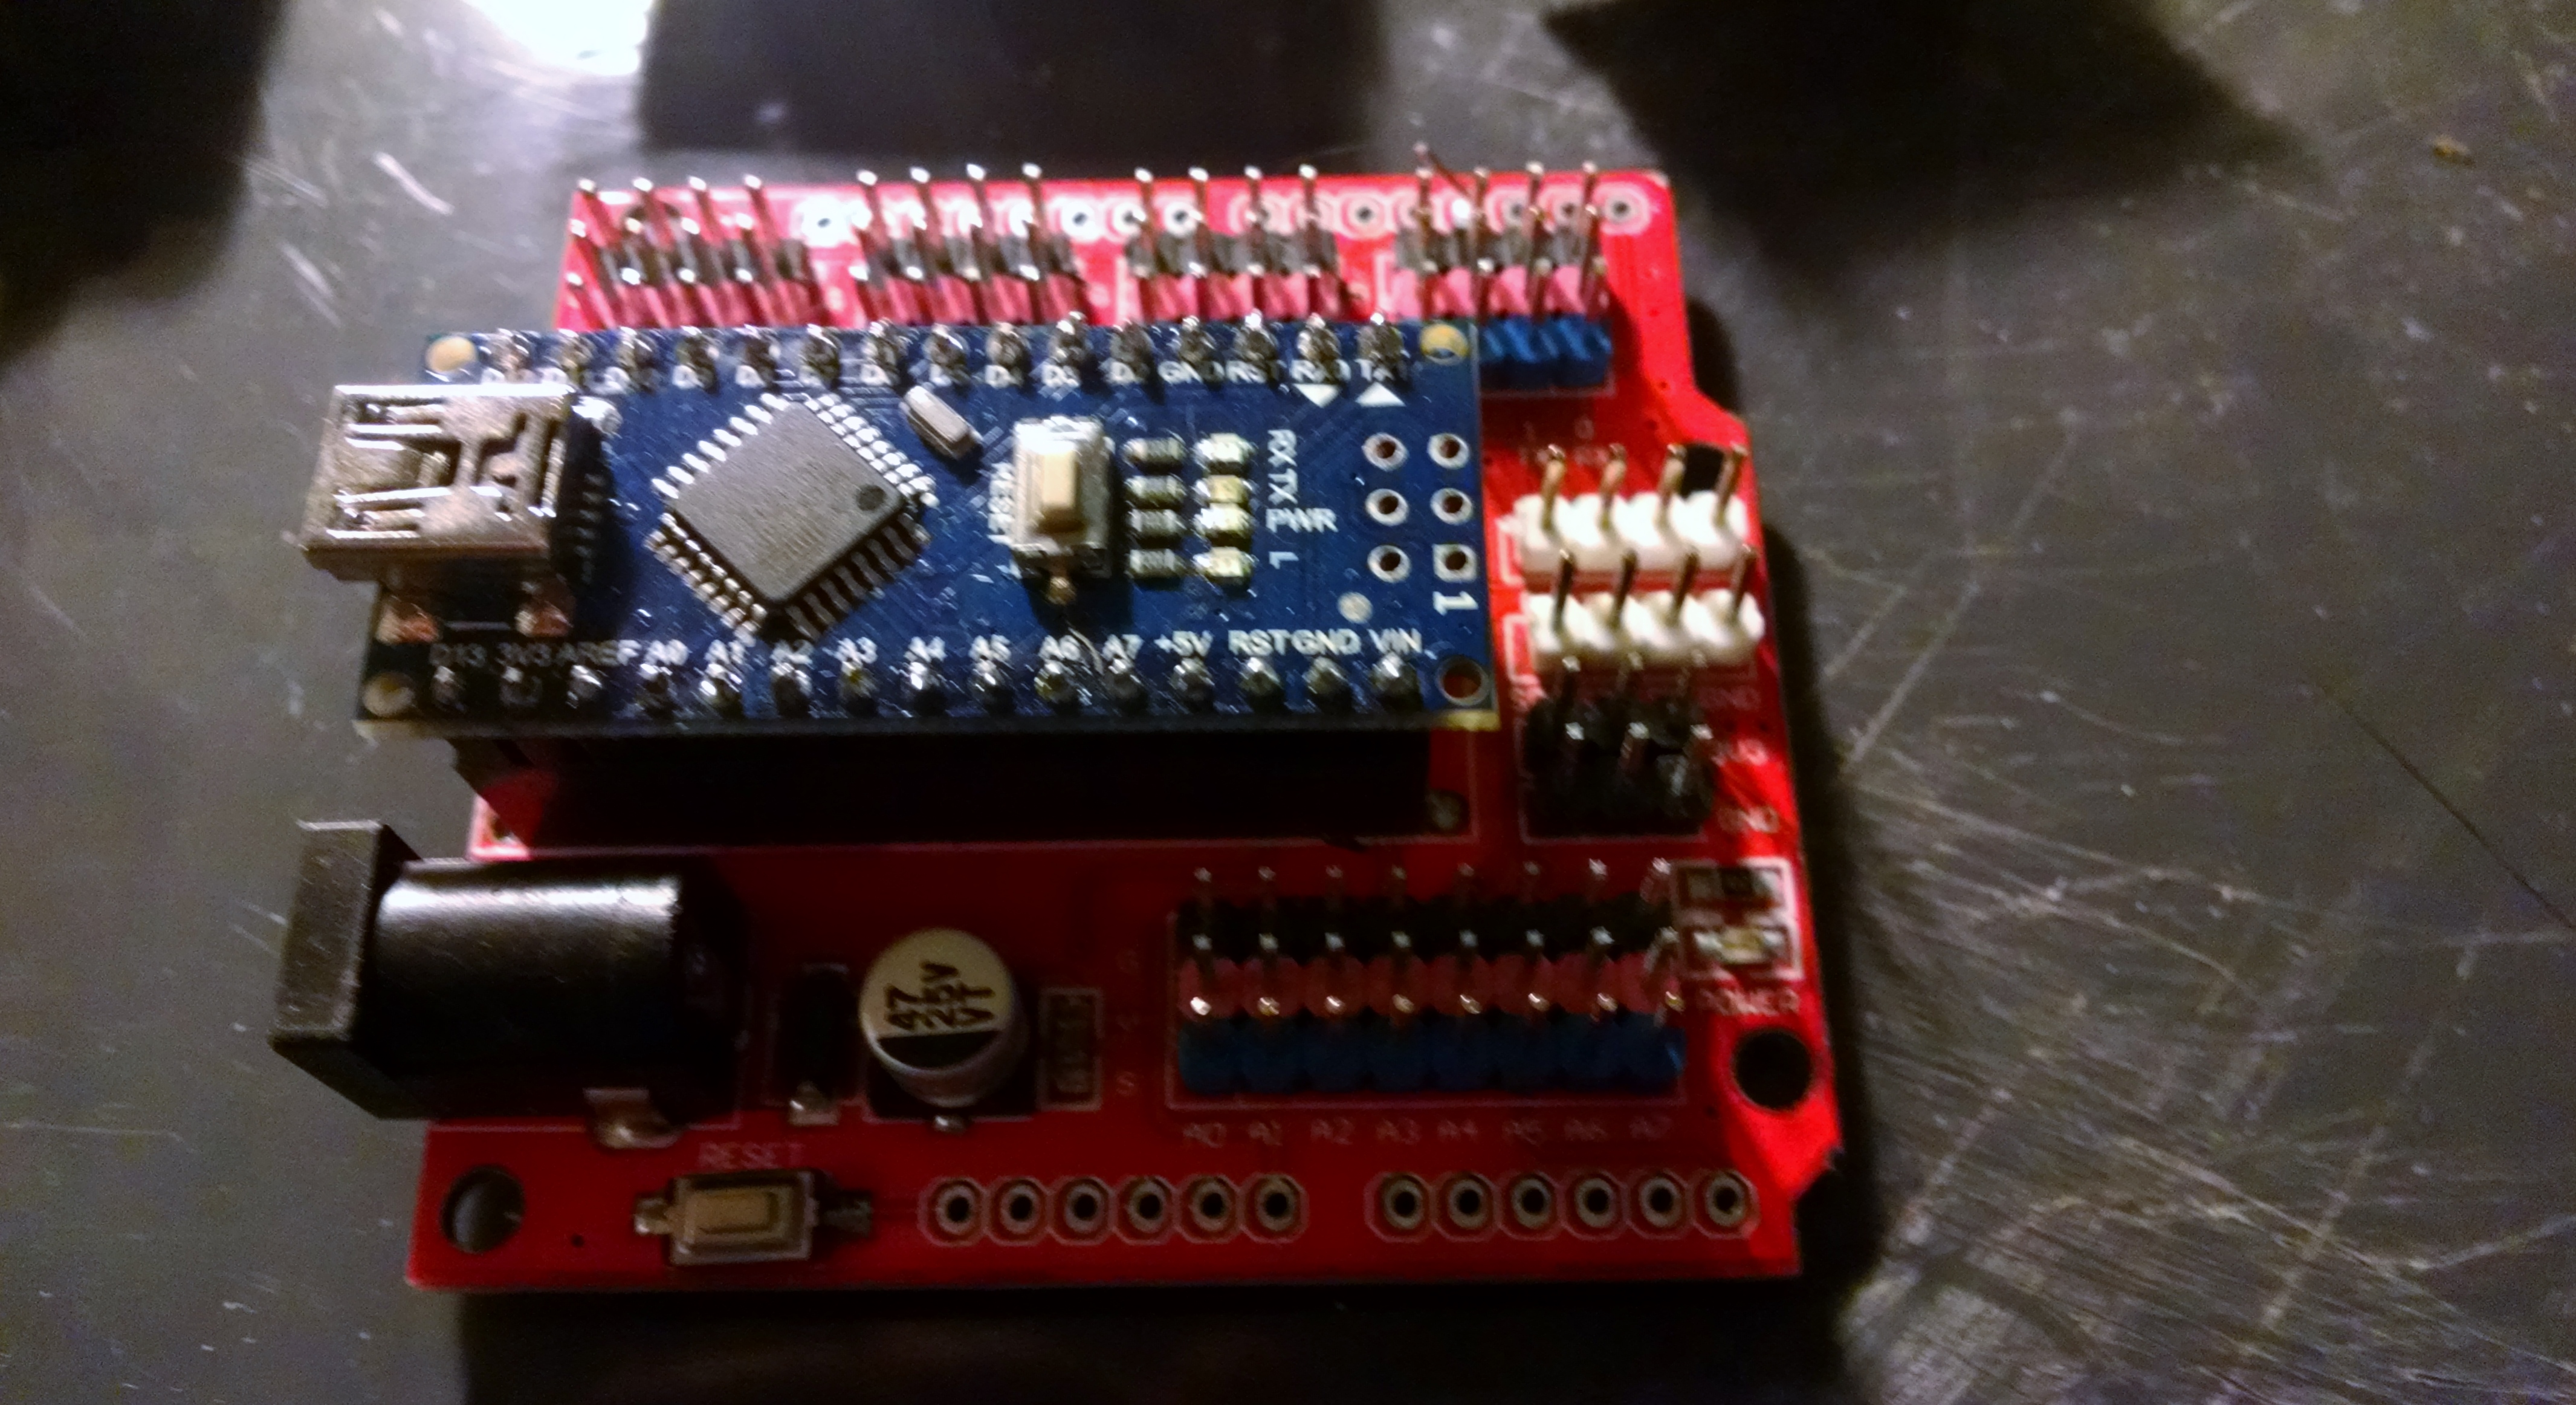
Rather than using the Arduino Uno and a protoboard or breadboard for this project, I’m using the Arduino Nano on an expansion board. Keep it simple using common wiring colors, keep it modular so connections can be made with ease, keep your project sustainable; a part can be replaced rather than the entire system. The DuPont wire connectors that come with prototyping starter kits makes it easy to create your own custom wiring connections. The wires are easy to solder when a more permanent connection is needed. I make custom wiring harnesses for neater, cleaner, and more easily connectable modules.
Raspberry Pi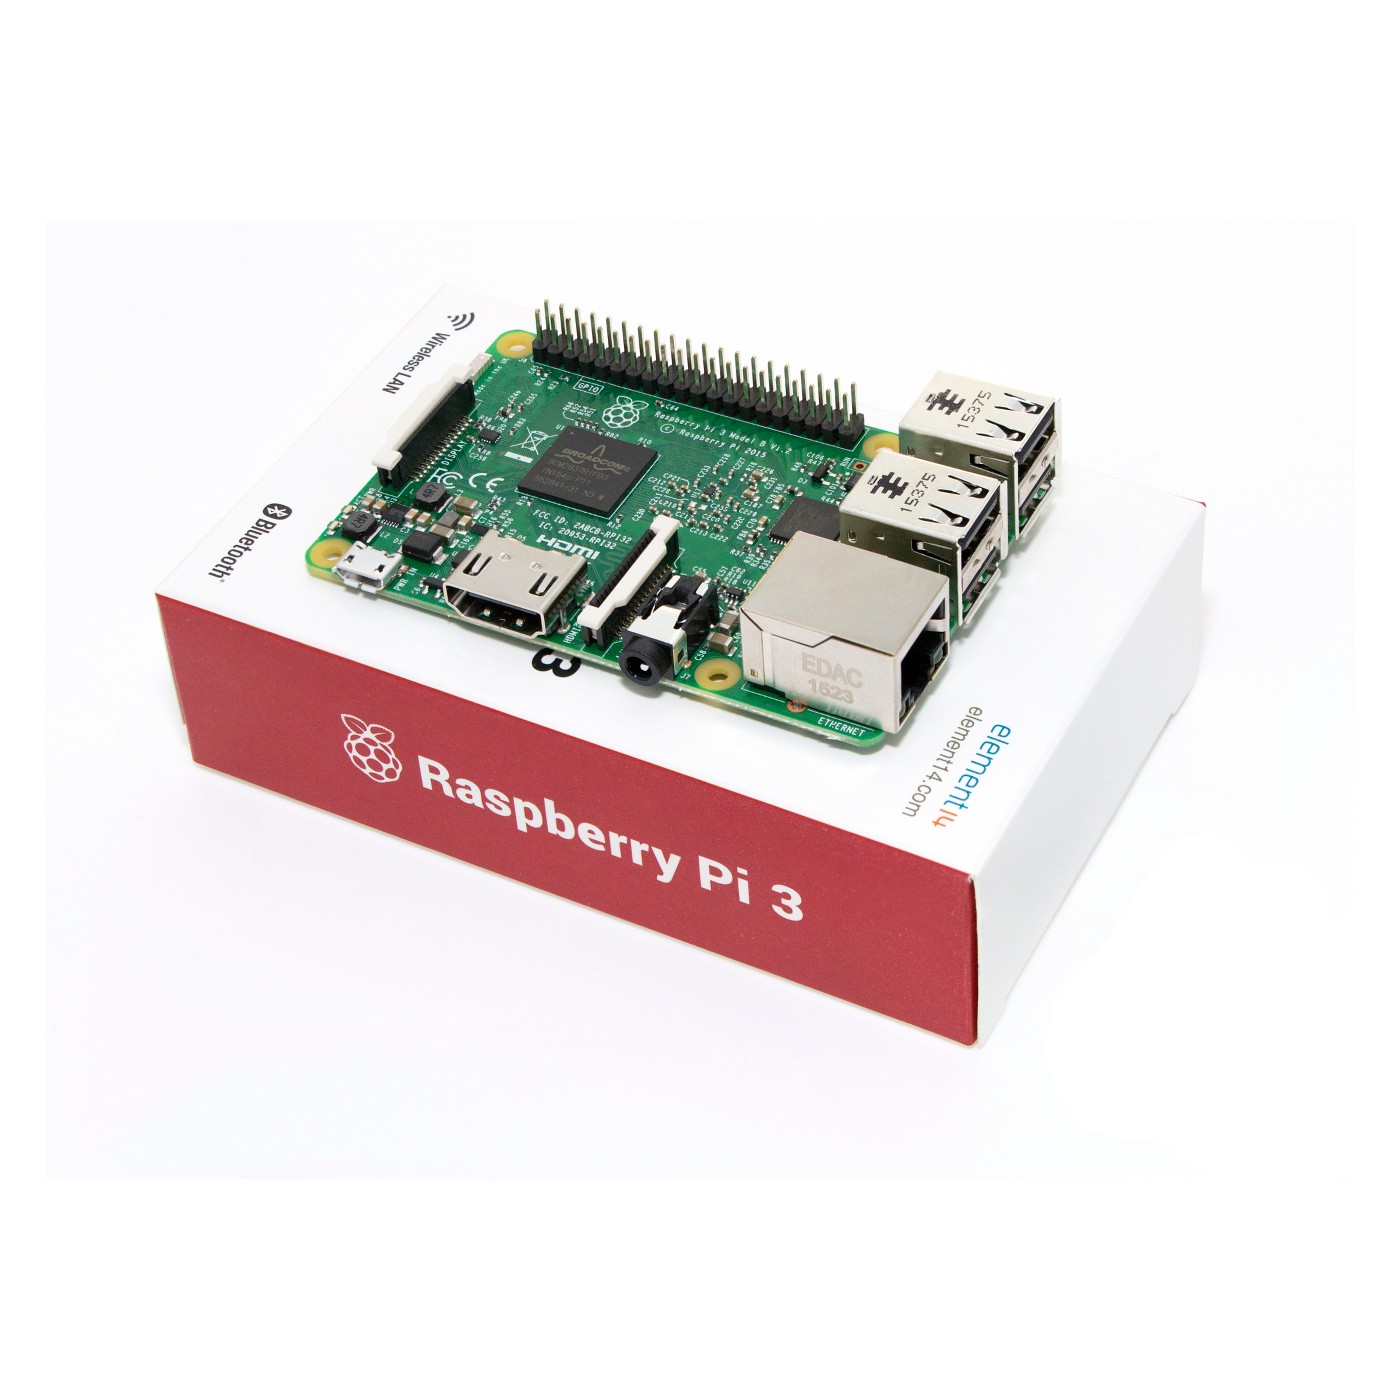
The latest version of the Raspberry Pi v3 uses a Linux OS and is a computer that can do so much more than an Arduino Uno, why not just use it for everything? While it is possible to do many of the same tasks as you would do with the Arduino Uno or variant, it’s not always best. The Arduino Uno and variant microcontrollers are best for doing the same actions, over and over again, such as reading a sensor and doing something with the value.
As I mentioned previously, you can do a lot with a Raspberry Pi, and depending on how much you are doing, it won’t take too long before you discover it has limits. When the Pi overheats, it will either freeze or shutdown, the processor should have a heatsink (a passive metal fin that draws heat away from the chip and dissipates it into the air) — they are inexpensive and worth adding if your Pi will run continuously.
The short answer: Use Arduino when you need tight sensor loops, low power draw, or always-on hardware control. Reach for the Pi when you need networking, a database, a web interface, or the ability to run multiple tasks at once. Many projects use both — the Pi as the brain, the Arduino as the hands.